
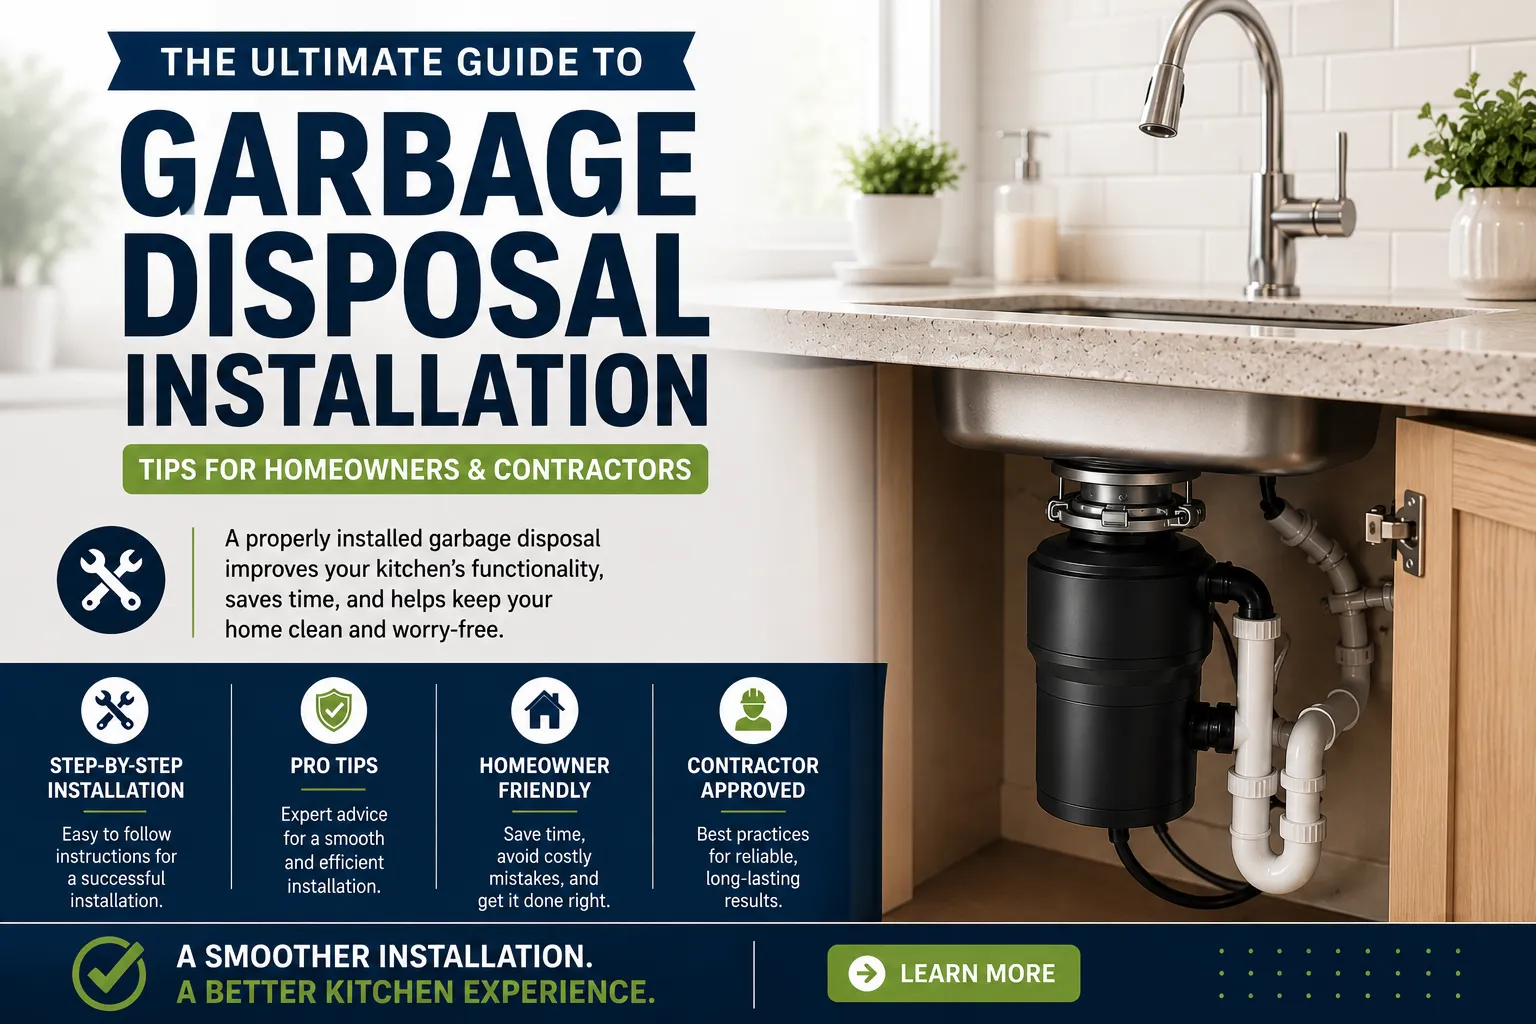
Complete Garbage Disposal Installation Guide for Homeowners and Contractors
Installing a garbage disposal in your kitchen sink is one of the most practical upgrades you can make to enhance your daily cooking and cleaning routine. Whether you're a homeowner looking to tackle a weekend DIY project or a contractor managing multiple installations, this comprehensive garbage disposal installation guide will walk you through every step of the process with professional precision.
Garbage disposals have become essential fixtures in modern kitchens, transforming food waste management and reducing the burden on your household waste system. For commercial properties, restaurants, and office buildings with kitchen facilities, a properly installed disposal unit can significantly improve operational efficiency and maintain cleaner working environments. The installation process, while straightforward for experienced DIY enthusiasts, requires careful attention to plumbing installation procedures, electrical connections, and local building codes.
This detailed guide covers everything from selecting the right unit for your specific needs to troubleshooting common installation challenges. We'll explore the tools required, safety precautions, and step-by-step procedures that ensure a successful installation. Whether you're upgrading an existing disposal or installing one for the first time, following proper kitchen plumbing protocols will guarantee optimal performance and longevity. By the end of this guide, you'll have the knowledge and confidence to complete a professional-quality installation that meets both residential and commercial standards.
Choosing the Right Garbage Disposal Unit
Selecting the appropriate garbage disposal unit is crucial for ensuring optimal performance and longevity in your kitchen plumbing system. The market offers various types of disposals, each designed to meet specific needs and usage patterns. Understanding these differences will help you make an informed decision that aligns with your requirements and budget.
Continuous Feed vs. Batch Feed Disposals
Continuous feed disposals are the most common type, operating with a wall switch while water runs continuously. These units offer convenience for everyday use and are ideal for most residential applications. Batch feed disposals, however, require a stopper to activate, providing enhanced safety features that make them suitable for households with children or commercial settings where safety protocols are paramount.
Horsepower Considerations
Garbage disposal power typically ranges from 1/3 to 1 horsepower, with higher ratings handling tougher food waste more efficiently. For residential use, 1/2 to 3/4 horsepower units provide adequate performance for typical household needs. Commercial plumbing services often recommend 3/4 to 1 horsepower units for restaurants, office kitchens, and high-volume applications where frequent use demands superior grinding capabilities.
Noise Level and Features
Modern disposals incorporate sound insulation technology to minimize operational noise. Look for units with anti-vibration mounting systems and sound baffles, especially important in open-concept kitchens or commercial environments. Additional features like auto-reverse grinding, overload protection, and corrosion-resistant components enhance reliability and reduce maintenance requirements.
Size and Installation Requirements
Consider the available space under your sink when selecting a disposal unit. Compact models work well in smaller kitchens, while standard-sized units offer more grinding chamber capacity. Ensure your electrical system can accommodate the unit's power requirements, as some high-horsepower models may need dedicated circuits. Professional contractors should verify local plumbing codes and commercial building requirements before recommending specific models to clients.
Preparing for Installation
Proper preparation is essential for a successful sink disposal installation and ensures the project proceeds smoothly without unexpected complications. This phase involves gathering necessary tools, understanding safety requirements, and familiarizing yourself with local regulations that govern plumbing installation projects.
Essential Tools and Materials
Before beginning your installation, assemble all required tools and materials. You'll need adjustable wrenches, screwdrivers (both flathead and Phillips), pliers, wire nuts, electrical tape, and a voltage tester for safety. Additional materials include plumber's putty or silicone sealant, discharge tube fittings, and potentially new electrical cable if your current setup lacks proper disposal wiring. Professional contractors should maintain comprehensive tool kits that include pipe wrenches, basin wrenches, and specialized plumbing installation equipment for efficient project completion.
Safety Precautions and Electrical Considerations
Safety must be your top priority throughout the installation process. Always turn off electrical power at the circuit breaker before beginning any work, and use a voltage tester to confirm power disconnection. Ensure your hands are completely dry when handling electrical components, and never work on electrical connections while standing in water. For commercial plumbing services, additional safety protocols may include lockout/tagout procedures and coordination with facility management to minimize disruption to business operations.
Understanding Local Plumbing Codes
Research local building codes and permit requirements before starting your installation. Some jurisdictions require permits for garbage disposal installations, particularly in commercial buildings or when electrical modifications are necessary. Understanding these regulations prevents costly delays and ensures your installation meets all safety and compliance standards. Property managers and building owners should verify that installations align with lease agreements and building policies before proceeding with any plumbing modifications.
Step-by-Step Installation Process
This comprehensive garbage disposal installation guide provides detailed instructions for completing a professional-quality installation. Following these steps carefully ensures proper functionality and prevents common plumbing issues that could arise from improper installation techniques.
Step 1: Disconnecting Power and Water
Begin by shutting off electrical power at the circuit breaker, not just the wall switch. Use a voltage tester to confirm power disconnection before proceeding. Turn off the water supply valves under the sink and disconnect the dishwasher drain hose if present. Remove any items stored under the sink to create adequate working space. For commercial installations, coordinate with facility management to schedule appropriate downtime and notify affected users of temporary service interruption.
Step 2: Removing Existing Disposal or Drain Assembly
If replacing an existing unit, disconnect the discharge tube and electrical connections first. Support the disposal weight while loosening the mounting assembly by turning the lower mounting ring counterclockwise. For new installations, remove the existing drain flange and strainer assembly. Clean the sink opening thoroughly, removing old putty or sealant residue to ensure proper sealing for the new installation.
Step 3: Installing the Mounting Assembly
Apply plumber's putty around the new sink flange and insert it into the drain opening from above. From underneath, install the backup flange, mounting ring, and snap ring according to manufacturer specifications. Tighten the mounting screws evenly to create a secure, leak-free seal. This mounting system will support the disposal unit's weight and provide the connection point for the grinding chamber assembly.
Step 4: Mounting the Disposal Unit
Align the disposal unit with the mounting assembly and rotate clockwise until it locks securely in place. The unit should hang level and feel firmly attached without any wobbling. If the disposal seems loose, check that all mounting components are properly tightened and aligned. Some units include adjustable mounting mechanisms that allow fine-tuning of the disposal height and position.
Step 5: Plumbing Connections
Connect the discharge tube to the disposal outlet, ensuring proper alignment with the drain pipe or dishwasher connection. Use appropriate fittings and gaskets to prevent leaks, and tighten all connections securely without over-tightening, which could damage threads or gaskets. If connecting a dishwasher, remove the knockout plug from the disposal's dishwasher inlet and attach the dishwasher drain hose with a proper clamp.
Step 6: Electrical Connections
Remove the electrical cover plate on the disposal unit and connect the electrical wires according to local electrical codes. Typically, this involves connecting black to black (hot), white to white (neutral), and green or bare copper to the ground screw. Use wire nuts to secure all connections and wrap with electrical tape for additional protection. Replace the electrical cover plate and ensure all connections are secure before restoring power.
Step 7: Testing and Final Adjustments
Restore electrical power and water supply, then test the installation thoroughly. Run cold water and activate the disposal to check for proper operation, unusual noises, or vibrations. Check all connections for leaks and verify that the dishwasher connection (if applicable) drains properly. Make any necessary adjustments to eliminate leaks or operational issues before considering the installation complete.
Troubleshooting Common Installation Issues
Even with careful attention to detail, installation challenges can arise during sink disposal installation projects. Understanding how to identify and resolve these common plumbing issues will help you complete your installation successfully and avoid costly callbacks or repairs.
Addressing Leak Problems
Leaks are among the most frequent issues encountered during garbage disposal installations. Check the sink flange connection first, as inadequate sealing compound or improper tightening often causes water to seep around the mounting area. If leaks persist, remove the disposal and reinstall the mounting assembly with fresh plumber's putty, ensuring even distribution around the flange perimeter. Discharge tube connections also commonly leak due to loose fittings or damaged gaskets, requiring careful inspection and proper tightening techniques.
Electrical Connection Troubles
Electrical issues typically manifest as disposals that won't start or trip circuit breakers repeatedly. Verify that all wire connections are secure and properly matched according to electrical codes. Loose connections can cause arcing, overheating, and potential safety hazards. If the disposal hums but doesn't grind, check for proper voltage supply and ensure the unit isn't jammed with debris from the installation process. Ground fault circuit interrupter (GFCI) outlets may require resetting after electrical work is completed.
Mechanical and Operational Problems
Disposals that vibrate excessively or produce unusual noises often indicate mounting issues or internal obstructions. Ensure the mounting assembly is properly tightened and the disposal hangs level beneath the sink. Remove any installation debris, such as putty or metal shavings, that might interfere with the grinding mechanism. Check that the discharge tube alignment doesn't create binding or stress on the disposal housing, which can cause premature wear and operational problems.
Professional Assessment Needs
Some installation challenges require professional evaluation, particularly when dealing with commercial plumbing services or complex electrical modifications. If multiple attempts to resolve leaks or electrical issues prove unsuccessful, consulting experienced plumbing professionals can prevent property damage and ensure code compliance. Professional contractors possess specialized tools and expertise to diagnose problems that may not be apparent to DIY installers, ultimately saving time and preventing costly mistakes.
Maintenance Tips for Garbage Disposals
Proper maintenance extends the lifespan of your garbage disposal and prevents common plumbing issues that could disrupt your kitchen operations. This plumbing maintenance guide provides essential care instructions that apply to both residential and commercial installations, helping you maximize your investment and maintain optimal performance.
Regular Cleaning and Care Procedures
Clean your garbage disposal weekly by grinding ice cubes to remove buildup and sharpen the blades, followed by cold water and dish soap to eliminate grease and odors. Monthly deep cleaning involves grinding citrus peels or specialized disposal cleaning tablets to freshen and sanitize the grinding chamber. For commercial installations in restaurants or office kitchens, daily cleaning protocols help manage higher usage volumes and prevent odor issues that could affect customer or employee satisfaction.
Prohibited Items and Usage Guidelines
Understanding what not to put in your disposal prevents damage and extends unit life significantly. Avoid fibrous materials like celery stalks, onion skins, and corn husks that can wrap around blades and cause jamming. Grease, oil, and fat solidify in pipes and create blockages that require professional drain cleaning services. Non-food items, bones, and large quantities of food waste overwhelm the grinding mechanism and can cause motor burnout or mechanical failure.
Performance Monitoring and Warning Signs
Monitor your disposal for changes in operation that indicate maintenance needs or potential problems. Unusual noises, slow drainage, persistent odors, or frequent jamming suggest internal wear or improper usage patterns. Increased grinding time for normal food waste indicates blade dulling or motor efficiency decline. Commercial property managers should establish regular inspection schedules to identify issues before they escalate into costly repairs or service interruptions.
Professional Maintenance Services
Schedule annual professional inspections to assess electrical connections, mounting stability, and overall system performance. Professional plumbing maintenance includes comprehensive testing that identifies potential failures before they occur, particularly important for commercial plumbing services where downtime affects business operations. Expert technicians can perform preventive maintenance, replace worn components, and ensure continued compliance with local plumbing codes and safety standards.
When to Call a Professional
While many homeowners and contractors can successfully complete garbage disposal installations, certain situations require professional plumbing expertise to ensure safety, code compliance, and optimal performance. Recognizing these scenarios helps prevent costly mistakes and potential safety hazards that could arise from improper installation attempts.
Complex Installation Scenarios
Professional installation becomes necessary when electrical modifications are required, such as installing new circuits or upgrading electrical panels to accommodate higher-powered disposal units. Commercial plumbing services often involve complex configurations with multiple disposals, specialized drainage systems, or integration with existing waste management equipment. Properties with older plumbing systems may require pipe modifications, valve replacements, or drainage upgrades that exceed typical DIY capabilities and require licensed professional expertise.
Emergency Plumbing Situations
Installation mistakes can create emergency plumbing scenarios requiring immediate professional intervention. Electrical shorts, major leaks, or damaged plumbing connections pose safety risks and potential property damage that demand expert resolution. Commercial properties, restaurants, and multi-unit buildings face additional urgency when kitchen facilities become non-operational, making professional emergency services essential for minimizing business disruption and maintaining operational continuity.
Code Compliance and Permit Requirements
Licensed plumbing professionals ensure installations meet local building codes, particularly important for commercial properties, rental units, and homes requiring permits for plumbing modifications. Professional contractors understand regulatory requirements, inspection procedures, and documentation needed for code compliance. Property managers and building owners benefit from professional installation services that provide warranties, insurance coverage, and documentation required for building maintenance records and tenant agreements.
Long-term Professional Relationships
Establishing relationships with qualified plumbing professionals provides ongoing support for maintenance, repairs, and future upgrades. Professional contractors offer comprehensive services including regular maintenance programs, emergency response capabilities, and expertise in handling complex plumbing issues that may arise over time. This professional support proves invaluable for maintaining property values and ensuring continued reliable operation of plumbing systems.
Conclusion
This comprehensive garbage disposal installation guide has provided you with the knowledge and step-by-step procedures necessary to complete a successful installation project. From selecting the appropriate disposal unit for your specific needs to troubleshooting common installation challenges, following these professional guidelines ensures optimal performance and longevity for your kitchen plumbing investment.
Whether you're a homeowner tackling a weekend project or a contractor managing commercial installations, proper preparation, attention to safety protocols, and adherence to local plumbing codes are essential for success. The installation process, while manageable for experienced DIY enthusiasts, requires careful attention to electrical connections, plumbing configurations, and mounting procedures that ensure leak-free operation and reliable performance.
Remember that ongoing maintenance and proper usage practices significantly extend your disposal's lifespan and prevent costly repairs. Regular cleaning, avoiding prohibited items, and monitoring performance indicators help maintain optimal operation and identify potential issues before they escalate into major problems requiring professional intervention.
For complex installations, emergency situations, or when you prefer professional expertise, don't hesitate to contact qualified plumbing professionals who can ensure proper installation and provide ongoing support for your plumbing systems.
Ready to upgrade your kitchen with a professional garbage disposal installation? Contact TK Plumbing at (941) 392-3846 for expert installation services that guarantee optimal performance and code compliance. Our experienced team serves homeowners, contractors, and commercial properties throughout the area with comprehensive plumbing solutions. Visit tkplumbing941.com to learn more about our kitchen plumbing services and schedule your professional installation today. Trust TK Plumbing for reliable, professional plumbing installation that exceeds your expectations.